Sunday 22 May 2011

Birthday Cake


We have the birthday girl in the top photo, pulling a bit of a face!! Alice was 17 on the 10th of May and below is her special birthday cake made by granny....Alice asked for a 3 tier cake covered in lots of chocolate. We have just finished the last of it......it seemed to go on for ever!

Saturday 21 May 2011

Off to see Duran Duran

I am off to Birmingham today with Georgina to see Duran Duran in concert.........If you are of an age to remember them I was a massive teenage fan. Roger Taylor the drummer was my schoolgirl crush.

We are really looking forward to taking a step down memory lane today, and having a kiddy free day and a grown up dinner.

Tomorrow I will show you Alice's birthday cake from earlier in the month...Isn't my Mum a clever thing. (would love to say I made it!!)

Friday 20 May 2011


Goodness me I can't believe I haven't posted for a week. I really must stay organised in having plenty to photograph and schedule posts in one hit.
I have had two classes this week and the above photo's show the projects that we made at both.
We have a tri shutter card and a matching box envelope. I had already cut and scored both projects before the class BUT showed how to use our fiskars cutter to create all the score lines and cuts. Our colour combo was daffodil delight, poppy parade and peach parfait. The DSP was from sunny garden which compliments all the cardstock beautifully.
We used the stamp set Growing Green and used the blender pens to colour in the images. There was some lovely blending going on using the poppy parade and peach parfait inkpads. I am going to add a bit more colour to mine when I get chance. We used a variety of sentiments from the Sincere Salutations stamp set.
On the box envelope we have used a scallop circle and layered a hand cut flower from the growing green set on top with a small pearl. By placing a dimensional at the bottom of the scallop to adhere to the lid we where then able to tuck in the flap.
16 ladies completed these projects last night and I had 4 ladies complete them this morning. 3 ladies were all new to Stampin' UP! and Jacky was a novice but wow did her card look good.
Ladies it was lovely to meet you all today at Miju Wools this morning I hope you enjoyed yourselves.

Saturday 14 May 2011

Monday Class Card 6


Our last card of the evening...We have a whisper white cardbase and then we stamped the greeting from Curly Cute in daffodil delight. We used the stamp-a-ma-jig to place our greeting.

The flowers are from Pocket Silhouettes and we applied separate colours to the stamp using the marker pens and then stamped onto the cardstock. These markers are fab for adding multiple colours to our stamping. Remember I am running a Marker Share (please see previous post for details)

Friday 13 May 2011

Monday Class Card 5


A pretty card here. The base is whisper white and then a layer of perfect plum. We have taken another piece of whisper white cardstock and stamped en francais over it in perfect plum. We then stamped the butterfly in elegant eggplant and once again onto a scrap and then hand cut out. The sentiment comes from Sincere Saluations and was punched out using the oval punch and then layered onto a scallop oval of perfect plum cardstock.

This card lends itself suitable for a number of occasions by just changing the greeting. I always take a variety of greetings with me to class so that people can change my design to suit their needs.

Wednesday 11 May 2011

Monday Class card 3


This is card 3. A whisper white card base and then a layer of wild wasabi. On another piece of whisper white cardstock we have used the jumbo handle and the stars and candles wheels from the mini catalogue. Our greeting comes from curly cute.

Tuesday 10 May 2011

Monday Class Card 2


This card uses Plane and Simple which is one of my favourite stamp sets in the mini catalogue. We have a whisper white card base and then our images have been stamped in night of navy and then punched out using the 1 1/4" square punch and then layered onto a 1 3/8" square of night of navy cardstock. Before we adhered the squares with dimensionals we used the spritzer tool and night of navy marker pen to create our own background.

Monday 9 May 2011

Monday Class Card 1


Its our Monday class today and this is the first card that we made.

We have a very vanilla card base, onto which we have layered a piece of so saffron cardstock and pretty in pink from the subtles paperstack DSP. We used the small heart punch to create a border along the bottom of the cardstock. The greeting is from Cheer and Wishes and was stamped in melon mambo and then punched out using the decorative label punch and adhered using dimensionals.

Saturday 7 May 2011

Tri Shutter Card


Now I just love this card, and baby cards is something that I don't make a lot of!!

This card was so easy to make haha....Georgina and I talked through the tuturial together and eventually i got it!

You can see have versitile those Lap of Luxury DSP are as I have used them on the end panels of the card. I used the Bundle of Love stamp set and did some colouring in with blender pens and a bit of mat and layering. There is even a pearl on the pram hood.

This is another type of card that will be on my class list.

I hope you have enjoyed viewing these different styles of card over the last few days.

Friday 6 May 2011

Diamond Fold Card


Now this card took about 3 attempts for me to get the folds right but once I had I was pretty impressed with the result.

The centre panel has been stamped with the large image from Growing Green and then I coloured in using my blender pens and then finished off by painting the petals with crystal effects and dazzling diamonds.

The panels of DSP came from Lap of Luxury. This was a first outing for these papers and you will see that I have used them in tomorrows post but on a baby card.

Thursday 5 May 2011

Waterfall card


You can see that I have been having quite a bit of fun with my 3D cards over the bank holiday. Here is a waterfall card that I tried. I am finding it easier to find tutorials on youtube so that I can watch someone make the card and then I can go off and have a go. ( I am one of those people who learn best by watching and then having a go myself).

We have the colour combo of elegant eggplant, river rock and DSP from the brights paper stack. I used the pocket silhouettes stamp set for my images and stamped on very vanilla textured cardstock and then punched out with the 1 1/4" square. The brads that hold the card frame are from the neutrals range and the bow is twill tape.

I am really pleased with my first sttempt and I think this card will be made in one of my up coming classes.

Wednesday 4 May 2011

April Workshop


One of my regular class customers Jo had a workshop last Thursday evening. It was a lovely evening as everyone was looking forward to the bank holiday weekend and as they had all been to several of my workshop's before we agreed that we would all take a look at the mini catalogue and then get straight on with some crafting.....

Most of the ladies at the workshop had been saving their order from when the mini launched at the beginning of April. I demonstrated the big shot and one of the embossing folders to decorate a box that I had made to put the 3d card in that they all made. I have to say this fab machine was liked a lot..so much that Jana brought one.

The card we made was a certainly celery base, and then a layer of pretty in pink which everyone put through the polka dot embossing folder. The flower was made by punching out 3 large petals, spritizing them with water and then scrunching up and letting them dry, before moulding them into shape. The sentiment was from oval all and was punched out using the oval punch and then layered onto a piece of early espresso cardstock that had been punched out using the new decorative label punch.

We used the itty bitty buttons, matching punches and linen thread to finish off the card. Everyone went home with the instructions of how to make the box to put their card in.

Jo had fab sales and reached the level 3 hostess gift, which entitled her not only to an exclusive stamp set but also £60 to spend in the catalogue. Jo had 6 people and herself at the workshop and provided light refreshemnts to reach this amount of sales. Would you like the same???

Please give me a call and we can book your own workshop. Sales at your workshop of £150 will earn you an exclusive stamp set and £15 to spend in the catalogue. The more your guests spend then more you earn......

Tuesday 3 May 2011

Z Card


This card is a z fold card. I have used Sahara Sand, Black and whisper white card stock with DSP from the neutrals paperstack.

I have used the scallop trim corner punch before stamping in Bravo Burgundy. Again the stamp set used is Sense of Time. The closing tab on this card has been made by punching out 2 scallop circles and then scoring diagionally through the scallops and cutting along one score line to the centre and then folding back the scallops. You then glue the two together and fan out to make a flower. A brad through the centre finishes it off. Again dimensionals are used to adher.

Monday 2 May 2011

Square twisted easel Card


Georgina and I had a go at a square twisted easel card. Mine is the blue design and george's is the green version.

I have chosen to go for a male version of the card and used Sense of Time with sahara sand and Baja Breeze cardstock and Baja Breeze dsp from the paper stack. I have stamped my image on very vanilla with Baja Breeze ink. The scallop circle in the corner is attached with dimensionals and this ensures that the card stands up. I have to attached a greeting but as we were crafting and George's I didn't have the luxury of all my kit so I will add my greeting later.

Sunday 1 May 2011

Side step card and Box Envelope


I hope you are all enjoying our bank holiday weekend. We have been spolit haven't we and the weather is dry as well. What a bonus!!!

I spent a lovely day on Friday watching the Royal Wedding...It brought back memories of watching Prince Charles and lady Diana marry. I remember my mum preparing all our food for the day before the wedding started and then we had a street party after, we enjoy reminding mum how drunk she was that evening.....Saturday was back to normal with Hannah and cheerleading but Georgina and I have managed to have some fun creating some 3D projects. We have each used the same template but created our own designs.

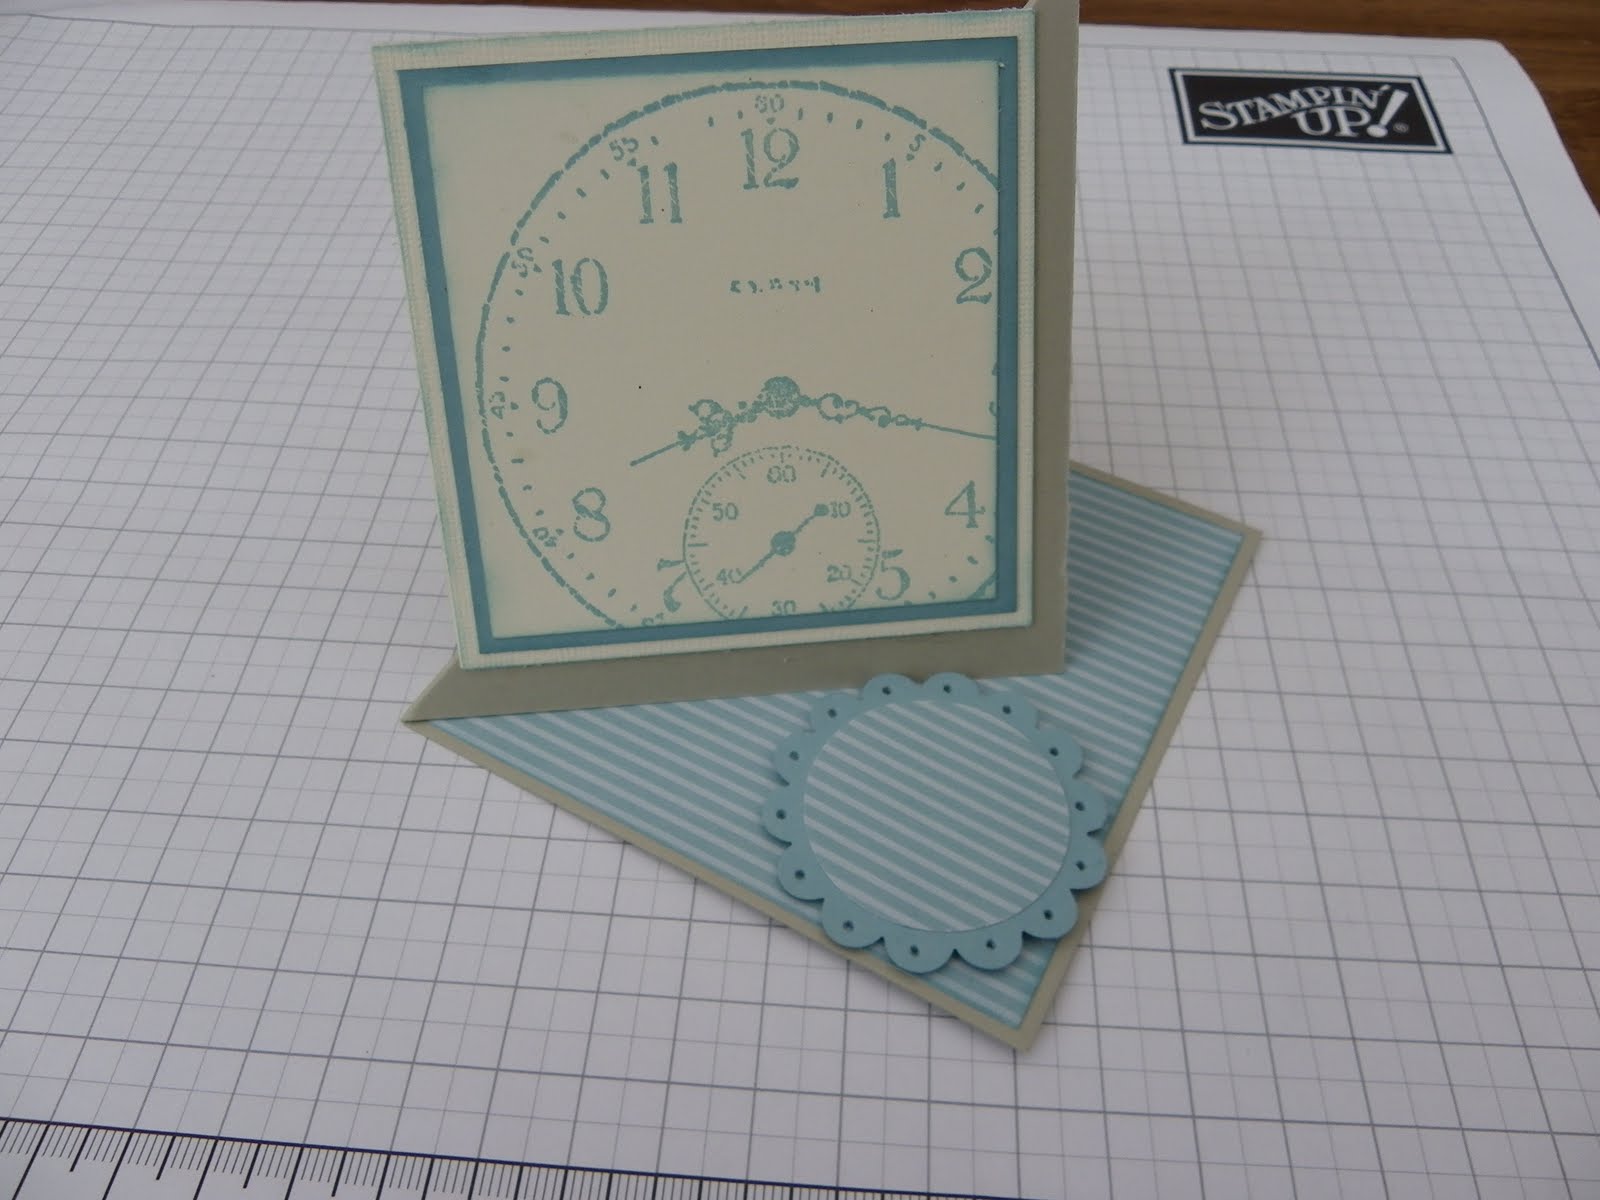
Today's design is a side step card and a matching box envelope.

I have used elegnant eggplant, river rock, melon mambo and very vanilla cardstock. The large flower image comes from Growing Green and has been stamped in elegnany eggplant and then colourd in with blender pens.

The greeting is from Sincere saluations and was stamped and then punched out using the scallop circle punch and then layered on to a large petal in melon mambo. The butterfly was from Strength and Hope and has been hand cut out and painted with a mixture of chrystal effects and dazzling diamonds.

I love the way this card has come together and I hope you do to...

The matching box envelope was created using a template from Jenny Moors and I just carried on my colour theme. The edging was created was the scallop trim border punch and the closing tab was made from a scallop circle and another of the flowers from the Growing Green set that was covered in a layer of crystal effects. My attaching this with a dimensional the envelope stays closed. This envelope is great for sending 3D cards.